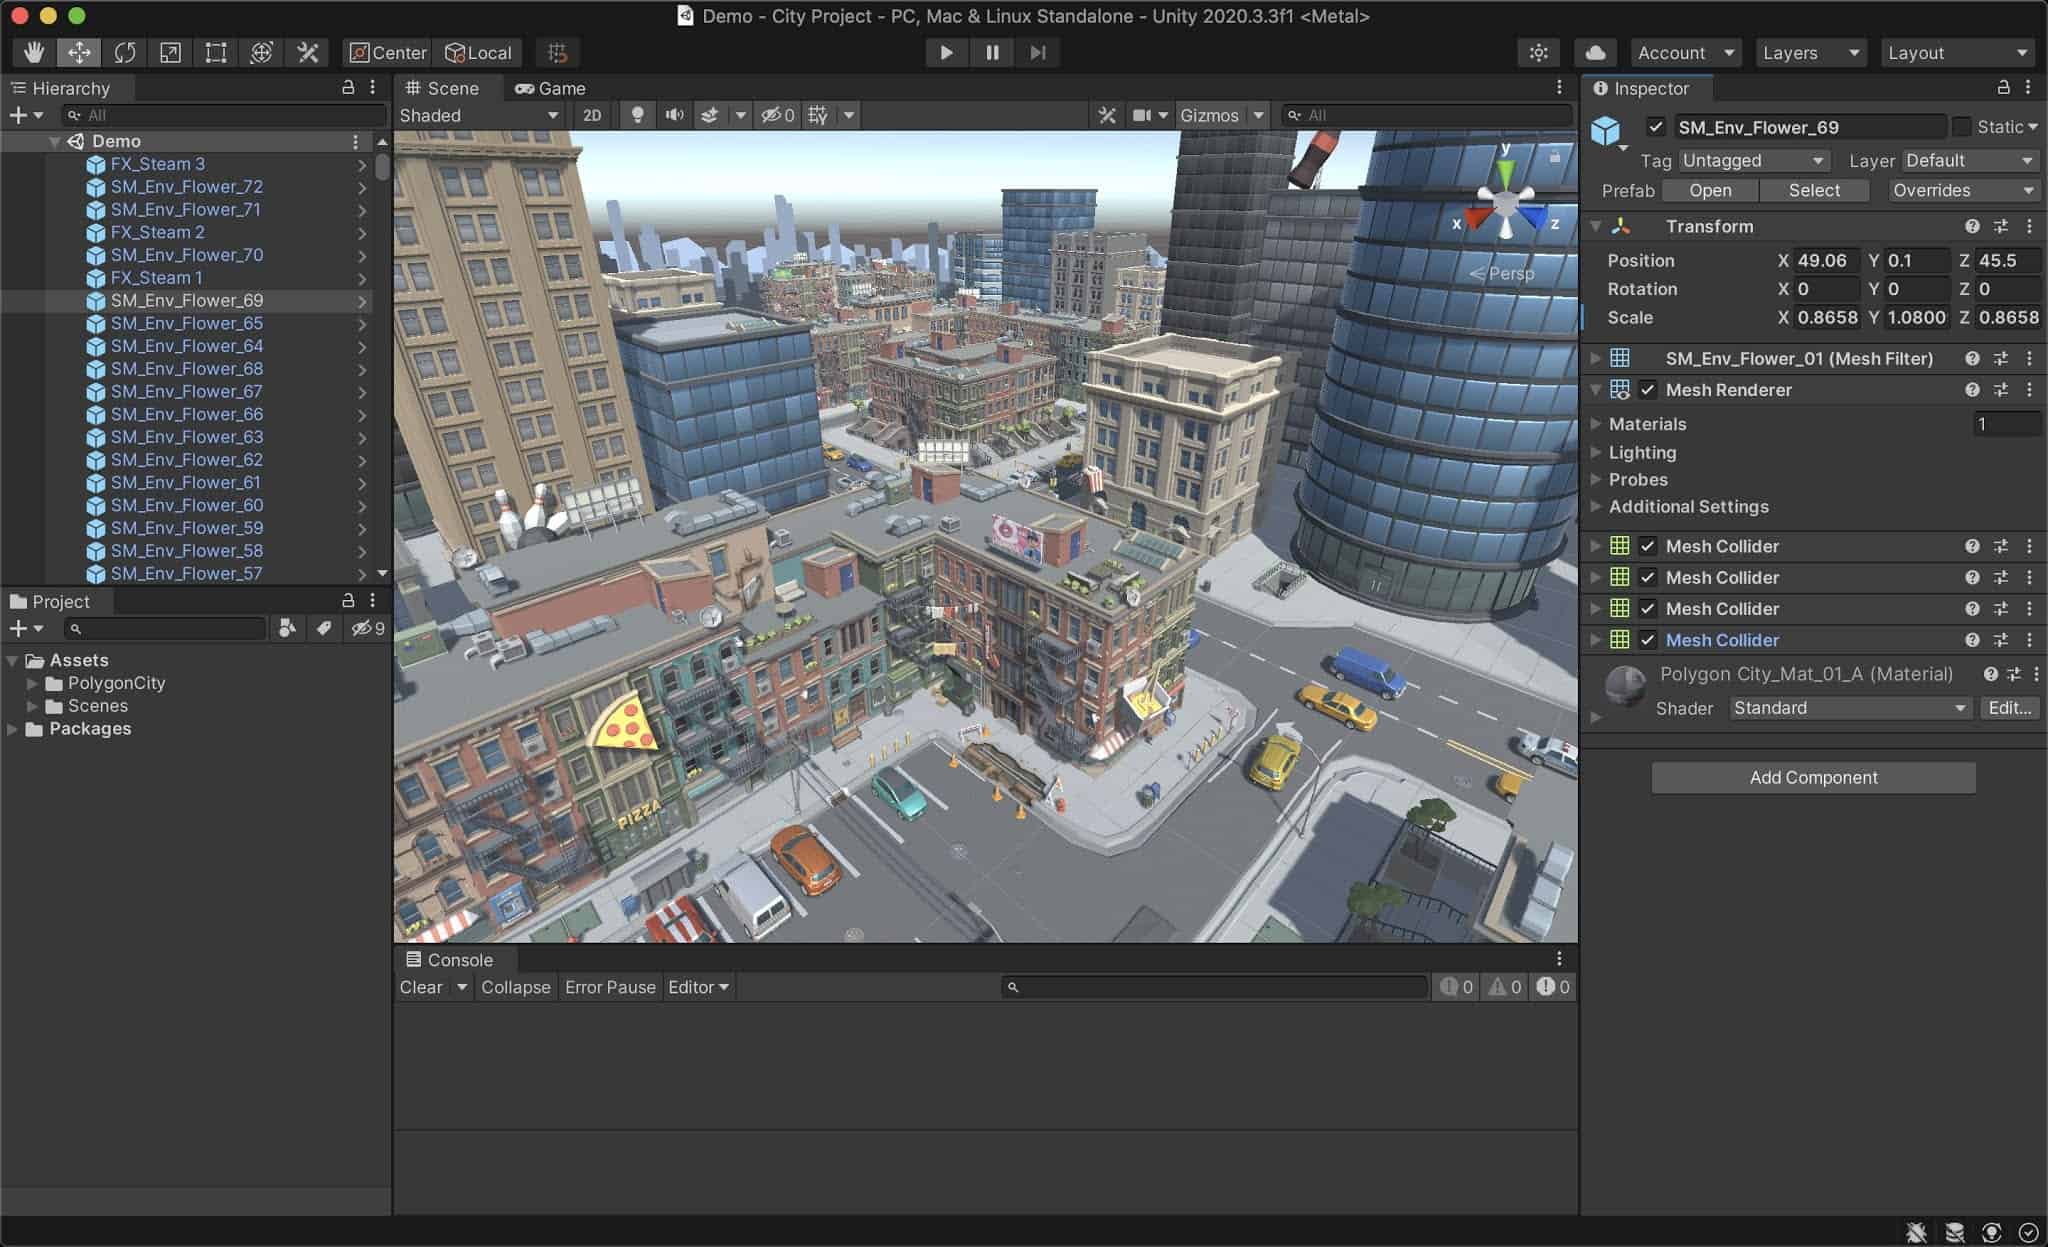
How to Customize Unity Game Source Codes for Unique Creations

Customizing Unity game source codes is a powerful way to accelerate your game development process and bring your unique vision to life. Whether you’re a beginner or an experienced developer, understanding how to effectively modify these source codes can lead to the creation of innovative and engaging games. In this guide, we’ll explore the essential steps and best practices for customizing Unity game source codes.
Why Customize Unity Game Source Codes?
Using pre-made source codes offers several benefits:
- Time-Saving: Skip the groundwork and focus on creative aspects.
- Learning Opportunity: Study professional code to improve your skills.
- Enhanced Creativity: Add unique features and designs to stand out.
Steps to Customize Unity Game Source Codes
1. Choose the Right Source Code
Select a source code that closely matches your game idea. This will minimize the amount of modification needed and provide a strong starting point. Consider factors such as genre, mechanics, and complexity.
2. Set Up Your Development Environment
Ensure you have the latest version of Unity installed. Import the source code into your Unity project by following these steps:
- Open Unity and create a new project.
- Import the source code package via
Assets > Import Package > Custom Package. - Verify that all assets and scripts are correctly imported.
3. Understand the Code Structure
Take time to explore the source code’s structure. Identify key components such as:
- Scripts: Responsible for game logic and behavior.
- Assets: Includes graphics, sounds, and other media.
- Prefabs: Pre-configured game objects.
- Scenes: Different levels or screens of the game.
4. Customize Game Assets
Modify the visual and audio elements to match your game’s theme:
- Sprites and Textures: Replace existing graphics with your own designs.
- Audio Files: Add custom sound effects and music.
- UI Elements: Redesign the user interface to fit your game’s style.
5. Modify Game Mechanics
Edit the scripts to change gameplay mechanics and add new features. Here are some common modifications:
- Character Abilities: Adjust player controls, abilities, and animations.
- Enemy Behavior: Change how enemies react and move.
- Level Design: Create new levels or modify existing ones.
- Scoring System: Implement a unique scoring or reward system.
6. Add New Features
Enhance your game by integrating additional features:
- Multiplayer Mode: Implement networked multiplayer capabilities.
- Achievements and Leaderboards: Integrate systems to track player progress and compete with others.
- In-App Purchases: Set up monetization options like ads and in-app purchases.
7. Test and Debug
Thoroughly test your game to identify and fix bugs. Use Unity’s built-in testing tools and consider the following tips:
- Playtest Frequently: Regularly test changes to catch issues early.
- Debugging Tools: Use Unity’s debugger to step through code and find errors.
- User Feedback: Get feedback from others to find areas for improvement.
Best Practices for Customizing Unity Source Codes
- Keep Backups: Regularly back up your project to avoid losing progress.
- Comment Your Code: Write clear comments to explain changes and new features.
- Optimize Performance: Ensure your game runs smoothly on target platforms.
- Stay Organized: Keep assets and scripts well-organized for easier management.
Conclusion
Customizing Unity game source codes is a fantastic way to create unique and engaging games efficiently. By following these steps and best practices, you can transform pre-made templates into your own innovative creations. Embrace the flexibility of Unity and let your creativity shine through your customized game projects.
